
· Marcus Reed
How to Clean a Bike Frame Bag (and Keep It Riding Silent)
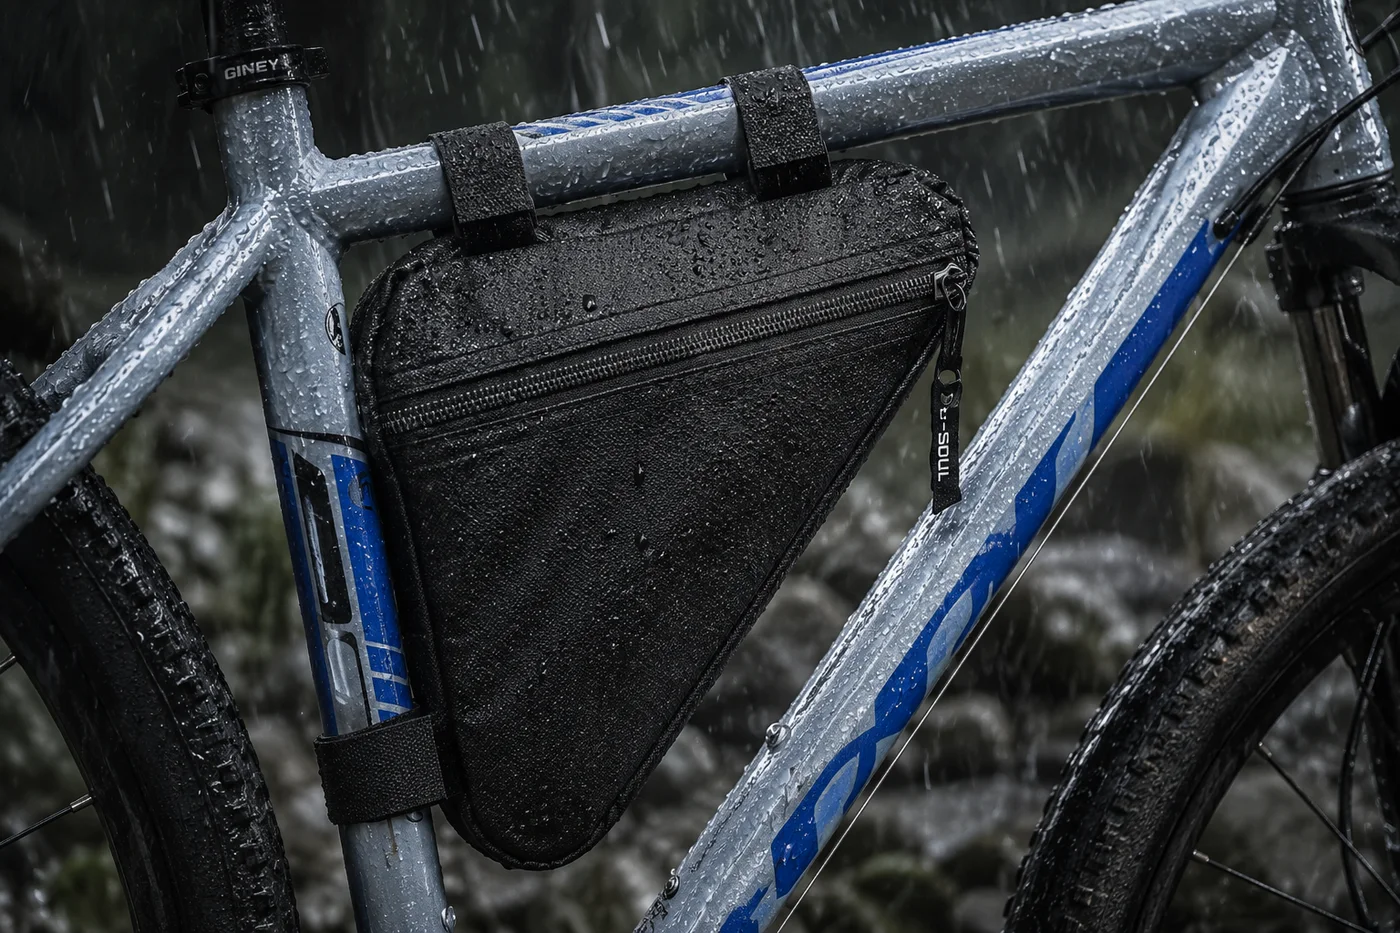
Nobody thinks about cleaning a frame bag for the first few months, and nobody needs to. Then comes a wet autumn or a winter of road spray, and the bag that used to disappear under you starts to feel different: the zip drags, a strap lets go mid-ride, something buzzes over every cattle grid. Almost none of that is wear. It is dirt, sitting exactly where dirt does the most damage. Here is the routine that keeps a Ridgeline Trail riding silent.
Where a frame bag actually gets dirty
Everything that leaves the front tire hits the triangle before it hits anything else on the bike. Two things follow from that, and they are the whole reason this routine exists. First, the dirty faces are the ones you never look at: the underside, the lower front corner, and the strap wrapping the down tube. Second, that spray works into the only two mechanical parts of a fabric bag — the velcro and the zip. Fabric shrugs dirt off. Hook-and-loop and zip teeth cannot, because grit physically stands between the parts that are meant to meet. Clean those two and the job is mostly done.
The wipe-down that takes two minutes
Do it when you park the bike, not when you next ride it:
- Empty it. Tip out the tube, multitool, pump and wrappers — the kit set out in our frame bag packing guide — then knock the corners out. Grit collects there and it is abrasive against everything else you carry.
- Wipe the shell. One pass over each face with a damp cloth, including the underside and the lower front corner you never see from the saddle.
- Wipe under the straps. Peel each strap back and clean the tube where it sits. Grit trapped between velcro and frame is what lets a tight strap creep loose over a ride — the first thing our frame bag installation guide tells you to check.
- Refasten firmly. Two straps on the top tube, one on the down tube, each pulled genuinely tight and pressed flat along its whole length.
A strap that will not hold is usually a dirty strap. Clean the hook side before anything else: very often the strap grips again once it is clear. What fails is the contact between velcro and grit, not the velcro. Riders reach for a harder pull; the fix is a cleaner surface.
Washing the shell when a wipe is not enough
The bag comes off in the time it takes to read this sentence: three velcro straps, no tools. That is what makes a proper wash easy — you hold it in two hands over a sink instead of crouching beside a bike with a cloth. Knock the dry dirt off first, because wetting caked mud turns it into a paste you then rub into the weave, while dry mud flakes away under a brush. Then wash with water and a little mild soap, moving along the direction of the weave rather than scrubbing in circles.
- There is no need for a machine. The shell is one small panel of fabric, and a bowl of water reaches all of it in a couple of minutes.
- Chain marks get blotted, not scrubbed. Lift what you can with a dry cloth first, then wash the area gently.
- Rinse properly, and do the inside. Soap left in fabric attracts dirt on the next ride, and the lining collects the fine sand that migrates off a pump barrel.
The Trail is cut from a lightweight, water-resistant Oxford/nylon that already handles spray and light rain, so none of this is a delicate operation. It is fabric meeting water and soap, which is what it meets on every wet ride anyway.
Drying it so it is ready for the next ride
Drying is where most people lose the time they saved washing. A frame bag holds damp in three places: the seams, the corners, and the folded-back straps. Zip it shut with any of those wet, drop it in a kit box, and it will smell by the weekend — true of any fabric bag, and entirely avoidable. Hang it with the zip fully open so air moves through the inside as well as over the outside. A breeze beats a hot spot every time: heat hardens fabric and never dries a seam faster than moving air does. Riders who want a phone that stays dry whatever the weather does run the hard-shell Ridgeline Pilot top tube bag alongside the Trail.
The velcro straps decide whether the bag stays silent
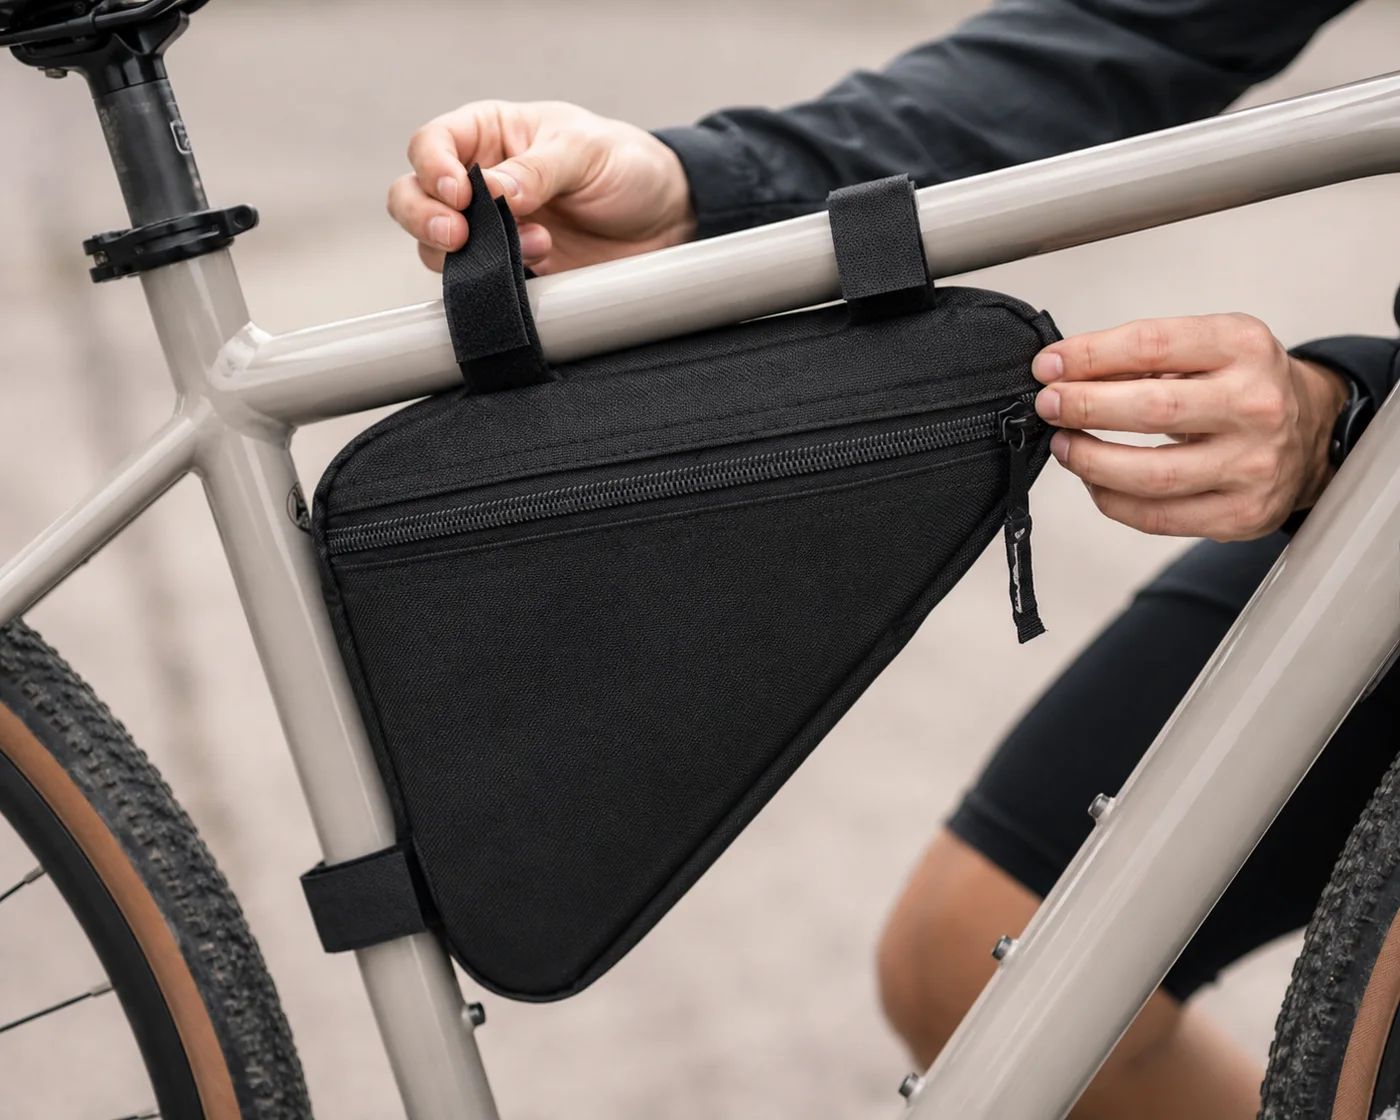
This is the job that actually changes how the bag rides. Rattle is movement, movement comes from a strap that is not holding, and a strap that is not holding is usually dirty rather than tired.
- Open the loops. Pinch the soft side between finger and thumb and work along it — grit and thread lift straight out once the loops are opened rather than pressed flat.
- Brush the hooks. An old toothbrush run in one direction clears what is wedged between them without dragging the hooks over.
- Rinse, dry, then close each strap on itself while the bag is off the bike, so it stops collecting fluff from wherever you store it.
Refit in the order that works — rear top-tube strap, front top-tube strap, then the down-tube strap, each pulled firm. That is the standard riders report back on:
"Excellent quality! Sits snug in the frame and doesn't rattle on rough ground." — verified Ridgeline Trail buyer
Zips: grit is what makes a zip stiff
The zip runs along the top edge of the bag, right where spray lands, and it is the one moving part you use on every ride. Sand behaves like a file between the teeth and the slider, so the order is always clean first, then move it. Rinse the closed zip, brush both sides of the teeth, then work the slider slowly end to end a few times. Keep the lining and any stray wrapper out of the track as you close it: a snagged zip pulled hard is the one genuine way to hurt a bag that is otherwise built for weather.
Road spray, winter grit and salt
Riding through the cold months changes the job, because what lands on the bag changes. The grit spread on winter roads is sharp and it carries salt, and salt is the one contaminant that does not wait politely for the weekend. Rinse it off the same day, straps included, and the difference over a winter is obvious. This is not a niche concern either — a growing share of American cycling is year-round riding rather than fair-weather leisure:
Americans ride a bicycle each year
— Outdoor Industry Association, 2023
E-bikes are among the fastest-growing US cycling categories, outselling electric cars in unit sales
— LEVA, 2023
More commuters and more e-bike riders means more bikes out in November, meeting road film a summer-only bike never sees. Off-road the same logic applies with mud instead of salt — the rough-ground notes for that use live in our MTB frame bag guide.

Storing it between rides, bikes and seasons
Most of the time the best storage is the bike itself: the bag lives inside the triangle, out of the weather's direct path, and leaving it fitted means it is there when you ride. Take it off for the off-season, for a deep clean, or when the bike goes on a rack — then keep it dry and empty, straps closed, on a shelf rather than a sunny windowsill. Ultraviolet is patient with fabric in a way that a muddy ride is not.
Moving between bikes deserves one extra second. Straps grip a clean tube far better than a dusty one, so wipe the top tube and down tube of the receiving bike before you strap on — the same rule the install guide opens with.
The five-minute routine, start to finish: empty the bag · knock out the dry grit · wipe the shell, inside and under · clear both velcro faces · rinse and run the zip · hang it open in moving air · refit with all three straps pulled firm. Do that after foul-weather rides and a few times a season, and the bag stays exactly what it should be — something you stop noticing.
Frame bag cleaning FAQ
How do you clean a bike frame bag?
Empty it, unstrap it and brush the dry grit off first. Then wash the shell by hand with water, a little mild soap and a soft cloth, working along the weave. Rinse it, clear the velcro hooks, unzip the bag fully and let it air-dry away from direct heat before you strap it back on.
Can you put a frame bag in the washing machine?
Wash it by hand instead. The shell is one small panel of fabric, so a bowl of water, a mild soap and a cloth reach every part of it in a couple of minutes, and the straps and the zip stay under your own hands while you work.
How do you get grit out of velcro straps?
Pinch the loop side open so trapped grit and fibres lift out, then run an old toothbrush along the hook side in one direction. Rinse both faces, dry them, and press each strap closed on itself while the bag is off the bike.
How often should you clean a frame bag?
Wipe it down after any wet, muddy or salty ride, while the dirt is still soft. Give it a full hand wash whenever the fabric feels rough under your thumb, the zip drags, or a strap stops gripping on the first press.
Does cleaning affect the water-resistant fabric?
Water and mild soap are what the shell already meets on every rainy ride — it is a lightweight, water-resistant Oxford/nylon. Keep workshop chemicals away from it: degreaser, solvent and bleach belong on a chain, not on bag fabric.
Care is the easy half of owning a frame bag. The half that decides everything else is fit — how the bag sits in your triangle and how the straps land. Check your clear space with the sizing guide, and see what riders report after real miles on our verified reviews page.
Free worldwide shipping · 30-day money-back guarantee · secure Stripe checkout

Marcus Reed · Gear Editor at Ridgeline
Marcus writes Ridgeline's guides to frame bags, bikepacking setups and carrying gear on the bike.
More from the workshop: browse the rest of the Ridgeline guides.